Project planning · HiBar Insulation
Plan HiBar thickness inspections before work starts
Inspection arrangements should be agreed before the treated surfaces become difficult to access. The design and accepted system documents establish the requirements; an article cannot prescribe a universal application thickness.
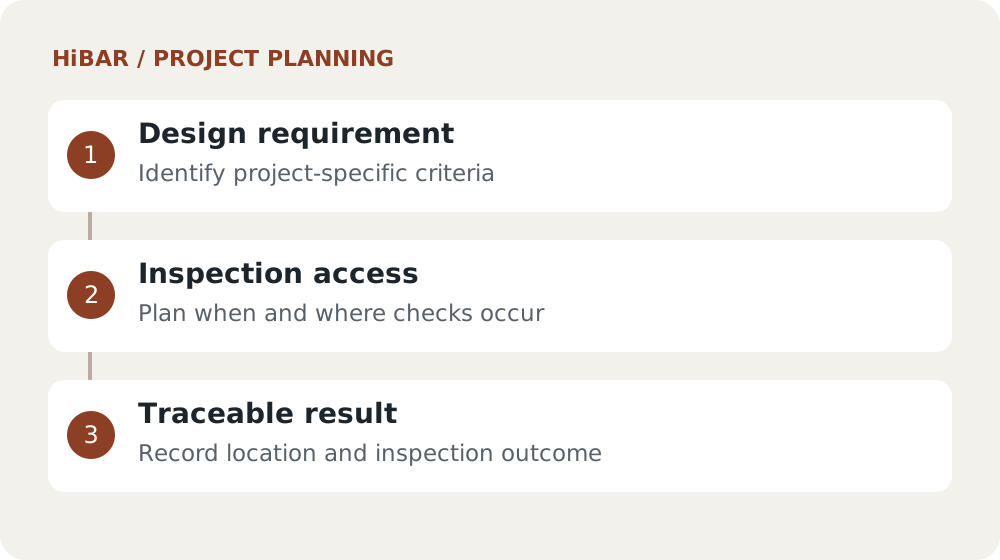
Identify the governing requirements
Ask the project designer to connect each building element to the applicable system details. Resolve inconsistent drawings and schedules before application. Keep the accepted requirements available to both the installer and inspector.
Coordinate inspection access
Arrange the inspection sequence with the contractor and qualified reviewer. Identify hold points, access equipment and areas that later trades will conceal. The inspection plan should make room for corrections and any required follow-up review.
Retain traceable results
Ask for records tied to floors, grids or room references. Keep findings and correction records together. Do not treat a broad photograph or an unlocated measurement as a complete record of the installed scope.
Keep with your project brief
- Element-specific requirements
- Inspection access and hold points
- Located results and correction records
Sources and editorial note
Published by Industry Army Marketing (IAM). Updated September 28, 2026. This is an independent project-planning article, not an installation specification. Confirm product and assembly requirements using current manufacturer documents and the responsible project professionals.