Project planning · HiBar Insulation
Recording HiBar damage after other trades
When later work disturbs spray-applied protection, record the affected locations and arrange a system-specific review. A cosmetic patch should not be assumed to restore the specified assembly.
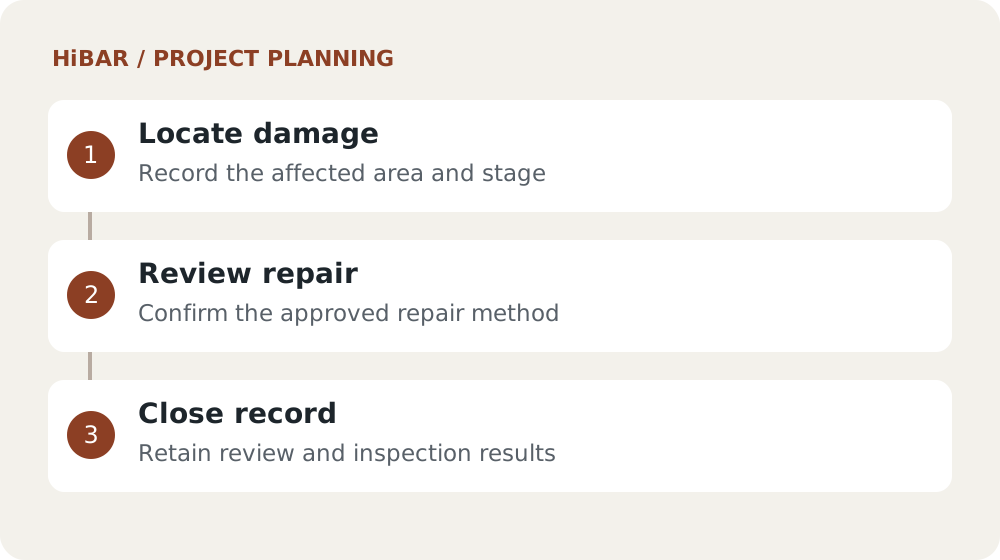
Capture the disturbance
Photograph the wider element and the affected detail, with a drawing reference and date. Record nearby service work and any material removed. Avoid further disturbance while the project team determines the required response.
Confirm the repair approach
Ask the responsible designer, manufacturer and qualified contractor to define the compatible repair scope. Identify preparation, repair boundaries and inspection needs. Product substitution should be reviewed rather than decided by colour or availability.
Close the repair record
Link completion photographs and inspection results to the original defect reference. Record who accepted the correction. Tell maintenance staff where later work may again affect the repaired system.
Keep with your project brief
- Dated damage locations
- Accepted repair method
- Completion and acceptance record
Sources and editorial note
Published by Industry Army Marketing (IAM). Updated September 28, 2026. This is an independent project-planning article, not an installation specification. Confirm product and assembly requirements using current manufacturer documents and the responsible project professionals.