Project planning · HiBar Insulation
Commercial access planning for HiBar work
Large overhead areas may require substantial coordination even when their floor area is easy to measure. An access brief helps the contractor price the real working conditions.
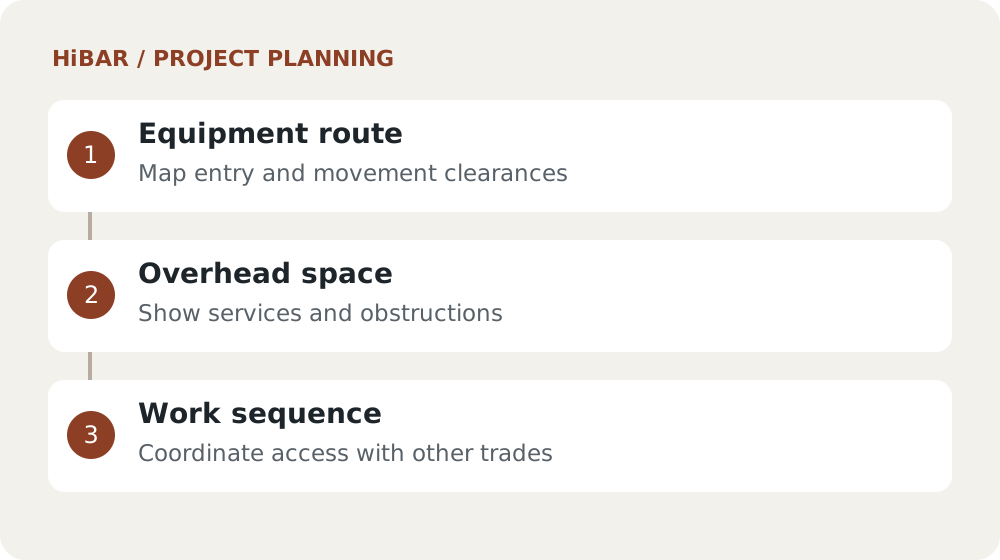
Map equipment movement
Show loading points, doors, travel routes and changes in level. Identify fixed equipment and occupied aisles. Have the appropriate project team confirm suitable access equipment and floor restrictions before accepting the setup.
Show overhead congestion
Mark beams, decks, ducts, services and other obstructions on a coordinated plan. State which elements receive the system and which require protection. Ask the contractor to identify areas needing a different access arrangement.
Plan the sequence
Agree working hours, phased releases and return visits. Include access for inspections and corrections as well as application. Assign the responsibility for clearing and handing over each work zone.
Keep with your project brief
- Delivery and travel routes
- Overhead coordination plan
- Phases and inspection access
Sources and editorial note
Published by Industry Army Marketing (IAM). Updated September 28, 2026. This is an independent project-planning article, not an installation specification. Confirm product and assembly requirements using current manufacturer documents and the responsible project professionals.