Project planning · HiBar Insulation
Scoping a HiBar repair or replacement review
The size of a visible defect is only one part of a repair decision. Ask the project team to investigate the cause and surrounding condition before deciding how far the work should extend.
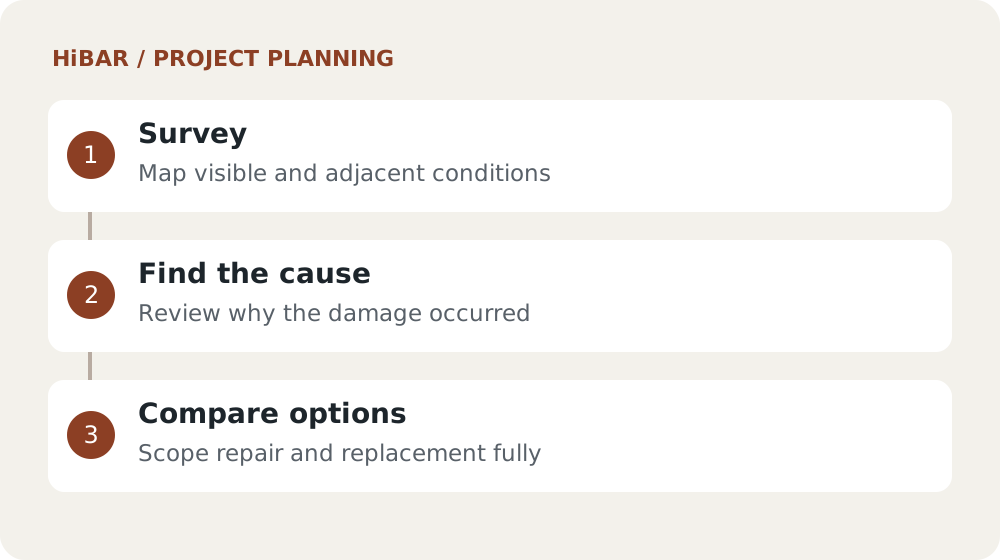
Survey beyond the obvious defect
Map loose, missing, stained or impacted areas and record nearby conditions. Identify previous patches and available installation records. Describe observations without presenting an unverified cause as fact.
Review the underlying issue
Have the responsible professionals assess whether moisture, substrate condition or repeated disturbance affects the proposed repair. A local repair scope should explain why its boundaries are appropriate. Broader uncertainty may require further investigation before pricing.
Compare complete options
Request preparation, access, compatible materials, inspections and reinstatement for each option. Include the effect on occupation and other trades. Keep assumptions and unresolved conditions visible in the comparison.
Keep with your project brief
- Condition and history survey
- Cause and boundary review
- Complete repair option scopes
Sources and editorial note
Published by Industry Army Marketing (IAM). Updated September 28, 2026. This is an independent project-planning article, not an installation specification. Confirm product and assembly requirements using current manufacturer documents and the responsible project professionals.