Project planning · HiBar Insulation
Photographing HiBar work responsibly
A project image can explain working conditions, but it cannot independently verify a product or rating. Use photographs as part of a traceable project record.
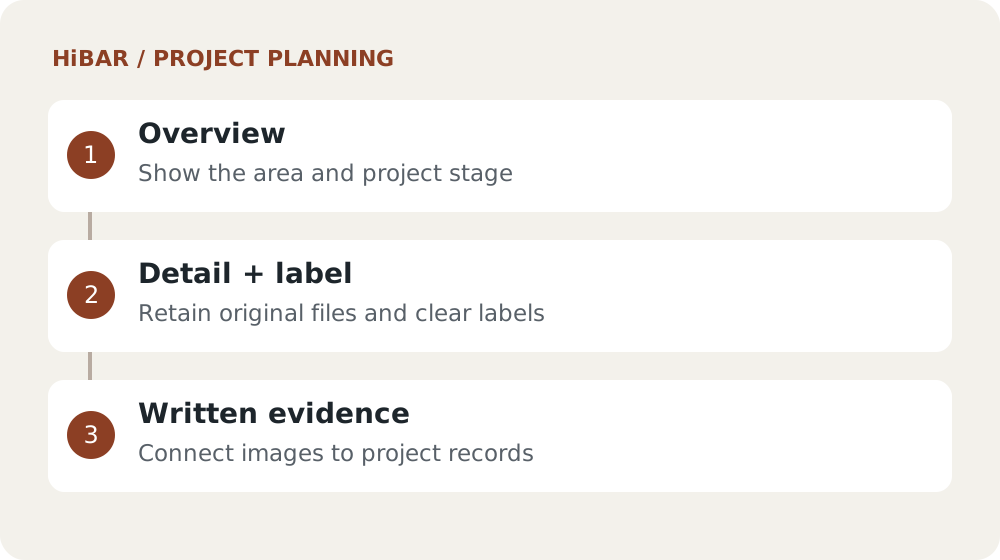
Capture location and stage
Take overview and detail photographs during preparation, application and completion where permitted. Label each set with floor or grid references and dates. Keep the original files so later publication edits do not replace the evidence record.
Use accurate captions
Identify the contractor, product and location only when supported by records and permission. Label generated illustrations as illustrations. A scissor lift establishes elevated access in a photograph; it does not establish the material being applied.
Link to written records
Associate photos with the relevant scope and inspection documents. Record what an image cannot show, such as a concealed surface or unmeasured thickness. Use the qualified inspection record for acceptance rather than promotional captions.
Keep with your project brief
- Located original photographs
- Supported captions and permissions
- Links to inspection documents
Sources and editorial note
Published by Industry Army Marketing (IAM). Updated September 28, 2026. This is an independent project-planning article, not an installation specification. Confirm product and assembly requirements using current manufacturer documents and the responsible project professionals.